
Easy DIY Arts and Crafts at Home
When you make things yourself, you can select tasks that suit your tastes, develop them in your option of colours/textures, and after that use them to your heart’s content. However, there are times when you have the urge to work on a craft, but your mind just won’t give you ideas, you as empty as a black hole (ironic I know). We’ve compiled a list of easy DIY arts and crafts that you can do at home.
Whether you’re intending for effectiveness, decoration, enjoyable, or self-sufficiency, right here’s a list of awesome DIY jobs just waiting for you–
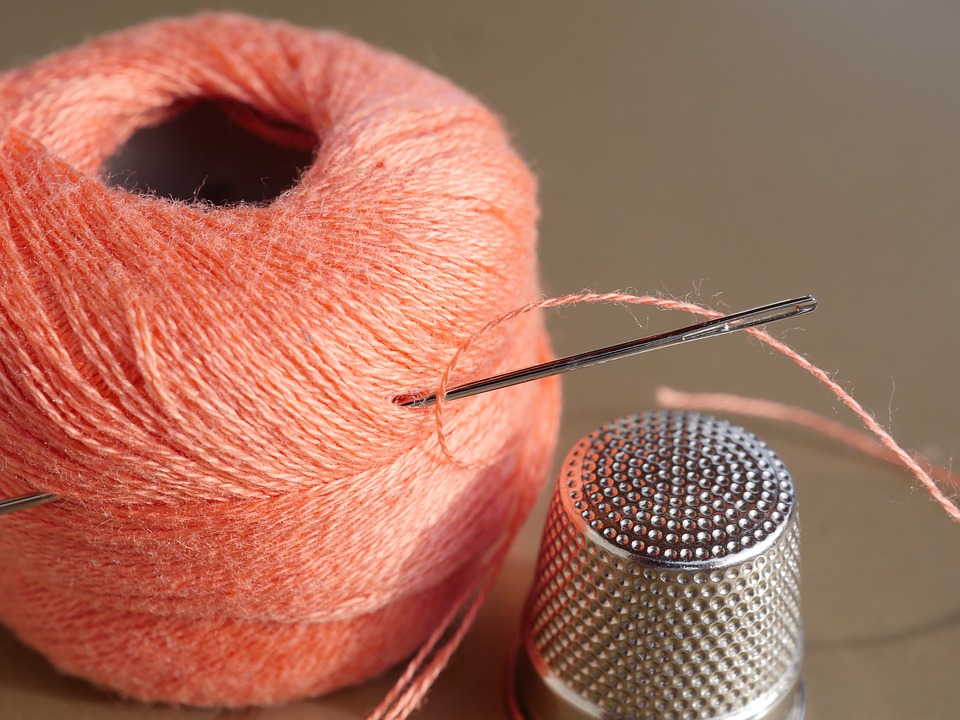
DIY Yarn-Wrapped Painted Jars
Use this as a tasteful decor for tea lights and also candle lights. The light seeping through the spaces in the jar certainly looks pleasing to the eye!
You’ll Require: Several cleaned up jars, thread or some type of string, and a can of white spray paint.
The method: Wrap the string around the jar securely and also tie a knot. Now wrap the string around the remainder of the jar tightly crisscrossing and even overlapping till you like what you see. After that just link the end to the remaining string where you began. Location the containers onto your protected surface area inverted and spray-paint them uniformly with 2-3 coats. Make sure to allow them completely dry for 5-10 minutes in between the coats. Once they are completely dried out just reduced the string in one location and also unwrap. Well, now you can put a tea light inside as well as decorate away! It’s that easy!
Purchase a tea light here:
DIY String Lanterns
It’s incredible just how simple it is to DIY these classy string-globe lights! It develops a relaxed minimalistic look in your house, with almost no extra effort. Easy peasy.
You’ll Need: Large Balloons, a sharpie, scissors, cotton thread, white institution adhesive, 1/2 mug Corn Starch, 1/4 cup Water, Petroleum Jelly, Clear, rapid drying spray paint, String
The Method: Blow up a balloon. After the balloon is inflated to your preferred size, draw a circle around the knot of the balloon sufficiently big to put whatever light you want to. If you are hanging from Christmas lights or something comparable, you will require to fit the light right into this opening. If you are simply intending to put them right into a vase or have no strategies to light these up, forgo the sharpie. Find a way to suspend the balloons with string. You can make use of a shower curtain pole across chairs, a clothespin line, or a rope between 2 trees. Mix the corn starch, adhesive, as well as warm water together until the mixture is nice as well as smooth. Smear the oil jelly throughout the balloon, until it is totally covered. Feed the yarn into the glue combination, then drape it around the balloon.
Now start covering the thread vertically around the balloon at a comfy tightness, and after that slowly switch to wrapping it flat. Put your start and also end items under various other pieces of thread. After letting the balloons to dry for 24 hours altogether, paint the round with the bright, quick-drying spray paint outside. Currently hang your spheres either from lights, from fishing cable, or display them in a flower holder or dish!
Pom Pom Keychain
Pom Pom Keychains are trending almost everywhere recently! This is such a simple craft to do on your own. No demand to purchase one, simply make your very own vibrant pom keychain so you can reveal it off to your good friends!
You’ll Require: Yarn: pink, Red & Orange Blend, Yellow, Navy Blue, Green and Tan, Clover Large Pom Maker & Clover Small Pom Maker, Sharp Scissors, Gold Chain, Gold lobster claw clasp, Large Gold Jump Rings 15mm, Flat Head Jewellery Pliers
The Approach: Make your DIY pom poms using the Clover Pom Maker. See this website for a detailed tutorial on exactly how to use the Clover Pom manufacturers:
To add a pop of shade to your poms, just start adding another shade to your pom maker. Cut the thread, begin with the brand-new colour and also continue wrapping. After you fluff and trim the pom, include the big gold dive ring to the centre tie of the pom. Next off, add the gold chain and close jump ring. Dimension the chain to the size you want. Cut the chain with the wire cutter part of your pliers. Bend open the end of the chain, including your hold and bend it closed with the pliers. And that’s it for the essential pom keychain.
Convertible Necklace Headband
With the assistance of a stretchy flexible hair connection, your favourite locket can quickly change into a brand-new hair device. I tried this technique on a handful of old necklaces and also a few items of a gold chain as well as like the way they transformed out.
You’ll need: Necklace or chain (about 18 inches long), Elastic hair connection and Needle nose pliers
The Method: Using needle nose pliers, bend open among the jump rings/links at the end of your pendant or chain. (Tip: If your necklace does not have web links that can quickly open, add your own dive ring at the end) Insert the elastic hair tie right into the ring and also close it back with pliers. If the ring does not close firmly, attempt overlapping the edges so that the flexible tie does not move out. On the other end of the locket, open the lobster clasp and also put the flexible connection inside. If it fits comfortably on your head, after that, you’re all set; otherwise, attempt utilizing a different size elastic tie to adjust. Now you’re all set to enjoy your days out with your own DIY personal necklace headband!
Share your DIY arts and crafts that you made at home in the comments below!
One Reply to “DIY Arts and Crafts At Home- Easy ideas”